
This page will show you how I built my Vivarium background
What you will need
Polystyrene
Stanley blade
ruler
measuring tape
ready made grout
glue
paintbrush
and a vivarium and lizard haha.
Lets begin
Stage One - Cutting out and measuring
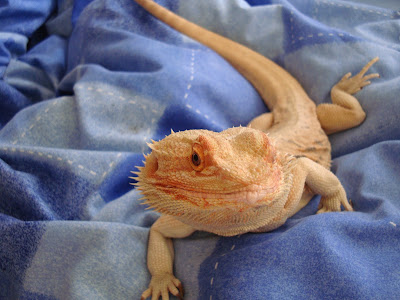
Above here we have Rocksteady my Tiger Red Leatherback.
He is my Pride and Joy and in the future I hope to get more as they are my favourite animal.
Below Im going to Show you the stages it took me to build his Background for his Vivarium.
Its fun simple and cheap.
vu

firstly empty out your Vivarium so its empty and ready to measure. And make sure you dont under measure because if you under cut it theres no going back, where as if you over cut you can always snip bits off.

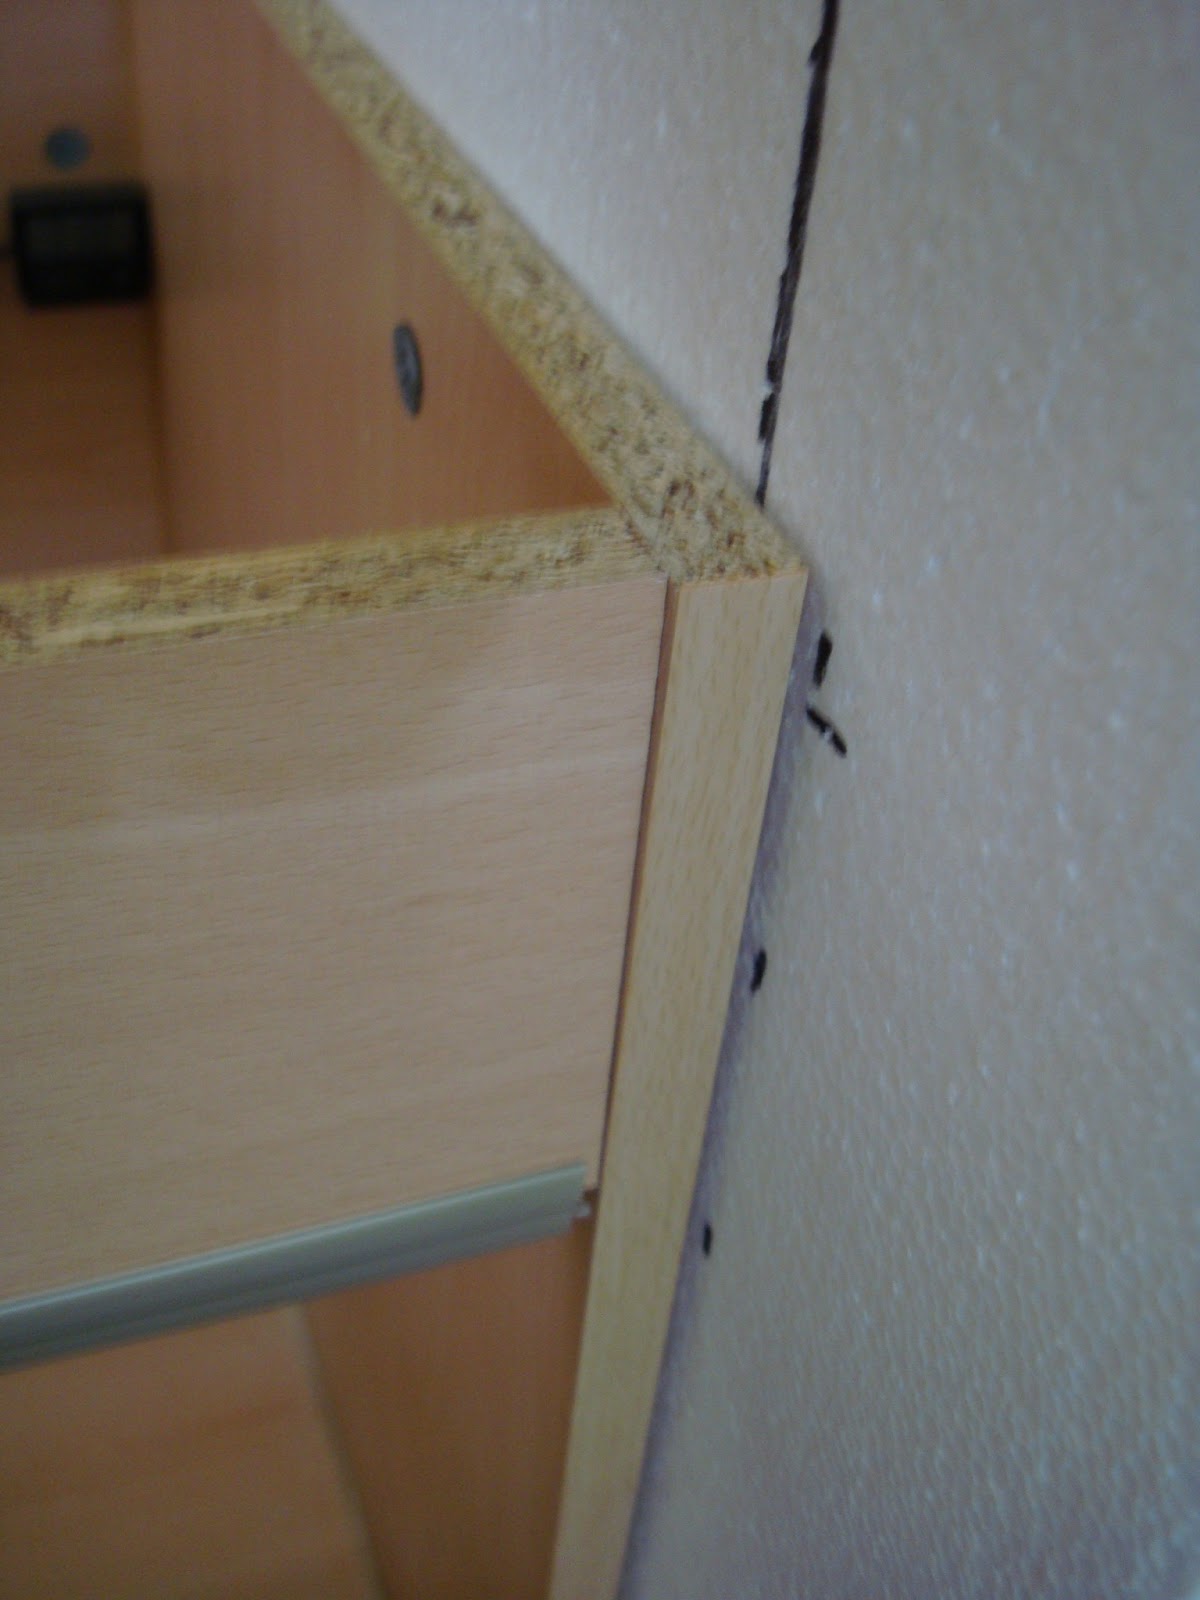
I have measured the background of the viv and cut to size but remember if you have any air vents wholes for wires be sure to make a pre cut.
You cut the polystyrene by scoring it and bending it it may need to be scored on the other side so it doesn't break.

Here is my side part I dont want it all the way so it has added effect, its approximately 1 cm wide the same width as the viv.

Here is the other side measured and ready to be scored.

here is some ruff guides i made.


Dont forget to leave a gap for the sides, because it wont fit.

Snap off the scored part.

Make sure you test it as you go along because you need to make sure it all lines up how you want it and if not just adjust till its right.

When you put the grout on it may make the sides a bit longer and thicker so dont make it to tight as it will need a bit of leeway for when you put the grout on as it dries thick.

Then you will need to start to make your rocks, because I only have a couple of thin sheets of polystyrene instead of a big block to carve rocks out of, I've had to build it up like its lots of slabs on top of each other, Just randomly draw shapes it doesn't need to be perfect it will stick look as good.

Build a shelf/Ledge if you want to go ontop.


Another ledge for Rocksteady to Bask on.

You can also stack up polystyrene and carve it like a rock instead of being stacked you can even do it with your nails, it adds a good rock effect.


Random shapes ready for the background rocks.

These are all the rocks to be piled up and stuck on the background.

Remember clean up the mess as it gets everywhere!!!!!
No comments:
Post a Comment